Thursday, November 18, 2010

Do You Know the Muffin Man?!


Ingredients:


* 1 cup unsweetened blueberries (fresh or frozen - I use frozen and more than 1 cup)
* 1 3/4 cups all-purpose flour (I use the "unbleached" kind)
* 2 1/2 teaspoons baking powder
* 1/3 cup Splenda granular
* 1/4 cup Egg Beaters egg substitute (equals 1 egg)
* 1/4 cup unsweetened applesauce
* 1/2 cup nonfat milk (skim)
* 1 tablespoon Splenda granular (to top muffins... if you want. I don't usually do this though).


I go crazy with the blueberries... you do not have to use so many :)


Directions:


  1. 1Preheat oven to 400 degrees.
  2. 2Lightly spray muffin tin with non-stick spray (I've found that paper muffin holders do not peel away from these muffins easily).
  3. 3Wash and drain blueberries. Set aside. 
  4. 4In large bowl, sift flour. Add baking powder and the 1/3 cup Splenda. Mix together.
  5. 5In another bowl, mix the Egg Beater egg substitute, apple sauce and milk.
  6. 6Combine the wet mixture into the flour mixture. Stir just enough to blend (electric mixers aren't really necessary). Gently fold in the blueberries.
  7. 7Pour batter into the prepared muffin tin, filling each cup about 2/3 full. Use the last tablespoon of Splenda to sprinkle on top of each muffin (this adds zero calories and has zero fat) and bake for 17 minutes, or until tops are light brown.
  8. 8After baking, allow muffins to cool before removing them from the tin. Please note: 1 serving = 1 muffin. Enjoy!

The Wedding Day Idea Board


     Well I had this ugly old cork-board lying around, hidden behind my desk, and I decided - what better project for me to practice my crackle paint technique on? It wasn't as if the board could get any uglier. Plus, I really wanted a place to organize some of the cards and random wedding magazine clippings that were cluttering up my desk.

This was the ugly before.

Next I did about 4 coats of antique white paint.

I had a few issues with the crackle concoction. The lady a JoAnn's Fabric told me that I simply needed to apply one coat of crackle over the top of my last coat of paint before it was fully dry.... but this was not the case. Turns out, what you are supposed to do is do one coat of crackle over the top of your last dry coat of paint. Then, you are supposed to add another coat of contrast paint atop the layer of the crackle before it is all the way dry. Needless to say, the paint did not crackle. Still and improvement though.

Next, I found some wedding fabric to cover the cork with. I found some sheer white fabric with little clear sequins across it. The sheer was nice because you could still see the cork beneath the fabric. I cut the fabric to go over the edges of the board about 1.5inches and then used a butter knife and a hot glue gun to tuck the fabric under the boarder and secure it. 

I then took some ribbon, stretched it across the board, and tucked it under the boarder and secured it with hot glue as well.

Like so...

And Ta-Da! This was my finished product. Not quite what I had had in mind, but much better than the before picture. :) Plus, now my desk is clutter free.... sort of.

Get a Heat Embosser!!!

Your next crafty purchase pre-holiday season is a heat embossing tool! You can get them for about $20 and they make any card look so much prettier!! My adorable and crafty cousin Molly mentioned heat embossing on her blog - KyleandMolly - and because her cards are always beautiful, I had to test one out for myself, and now I'm hooked! Here are a few of my creations/test trials so far...


Some little cards I made to send to all of my bridesmaids. 

Love using the embosser for sealing the back of envelopes. So easy to use.

Some little cards for teacher friends that helped to celebrate my birthday/engagement.

A card for Adam...

Even fun to use the embosser on the inside of the cards. This one is hard to see. Be sure to let the stamp cool before the card closes. 

Some cards that I made for friends that threw a birthday dinner party for me.

I am still learning and these cards were mainly just test runs to figure out how to use the heated tool, but they were fun to make. When I bought the embossing powder I tried to buy some sparkly powder that looked white with sparkles, but once the powders are heated they change colors a bit as the powder melts and the white sparkle powder became clear with sparkles - which was too light to see. I went to the store though and purchased a few more embossing powder colors and also some glitter glue to embellish my Christmas cards a bit. Oh, and Paper Source had a $0.99 stamp bucket.... and needless to say I took the opportunity to stock up on Christmas stamps (plus, you get 20% off if you sign up for their mailing list). What a deal! :) Here is my loot -

I'm telling ya, Paper Source in Tukwila.... get excited :)


Wednesday, November 17, 2010

We're Engaged! Let the wedding planning begin!

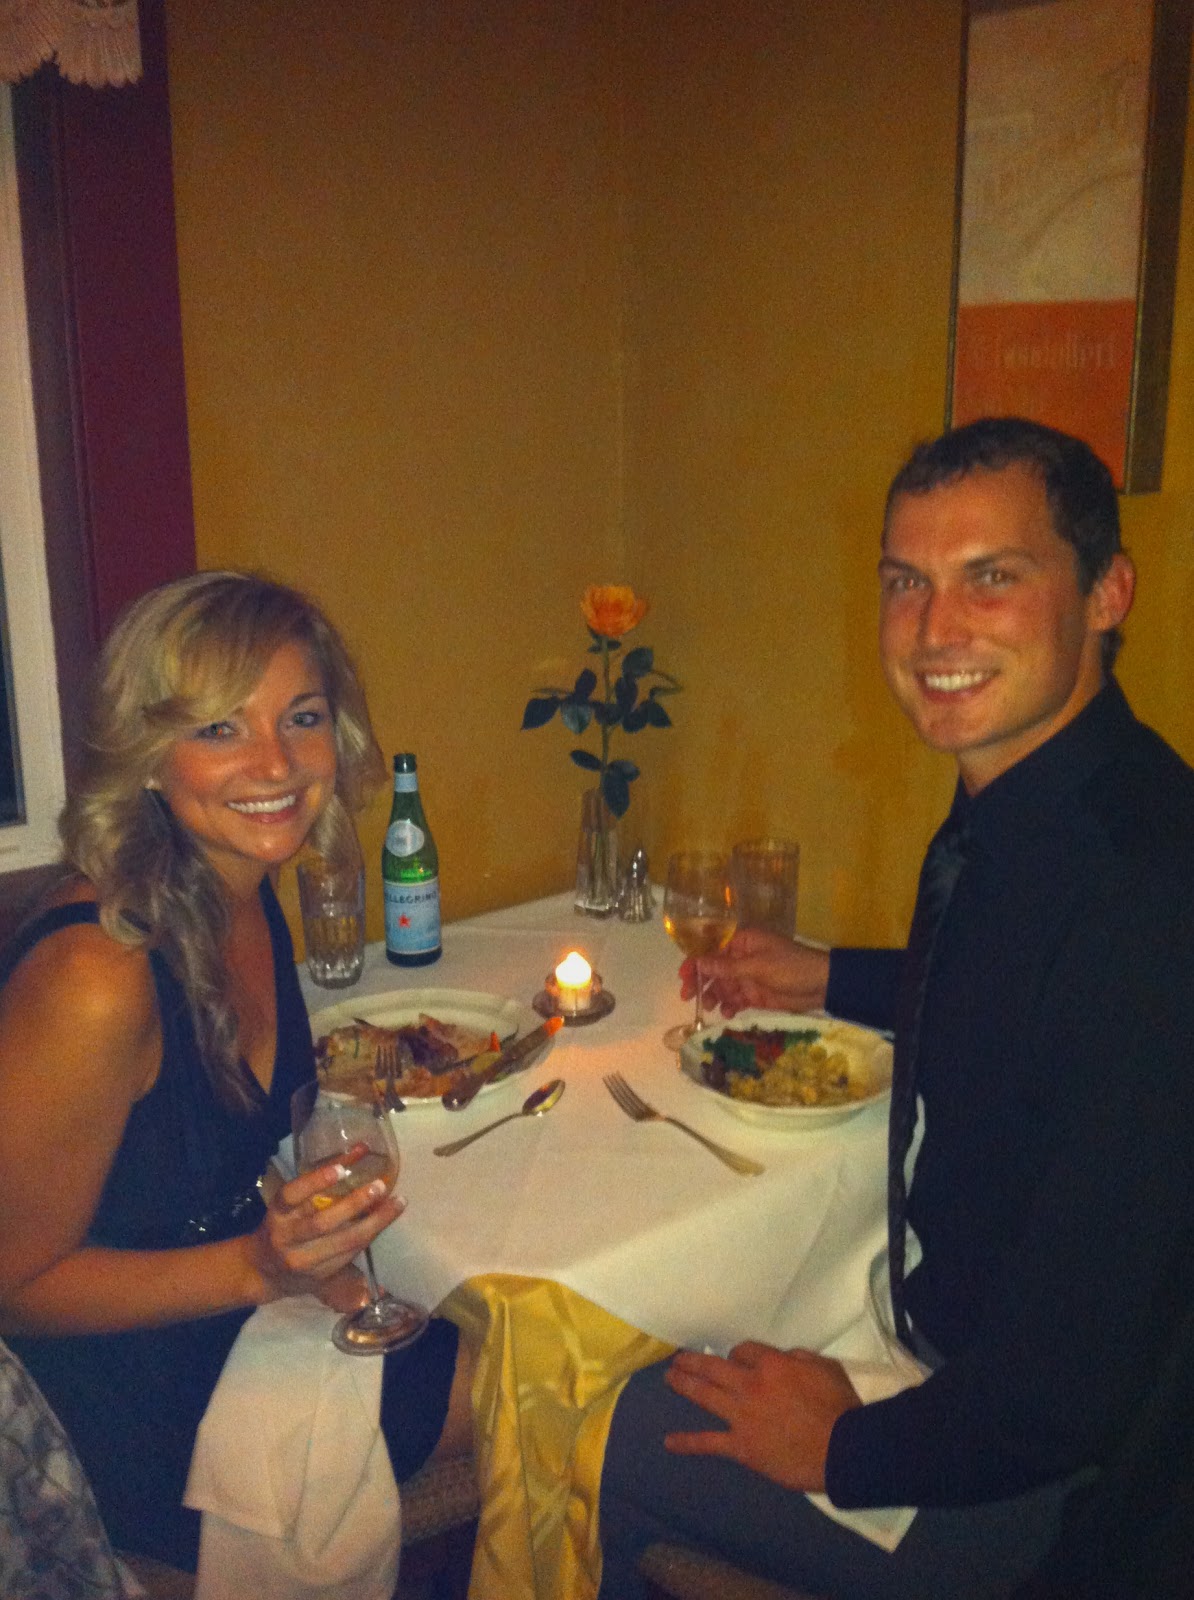
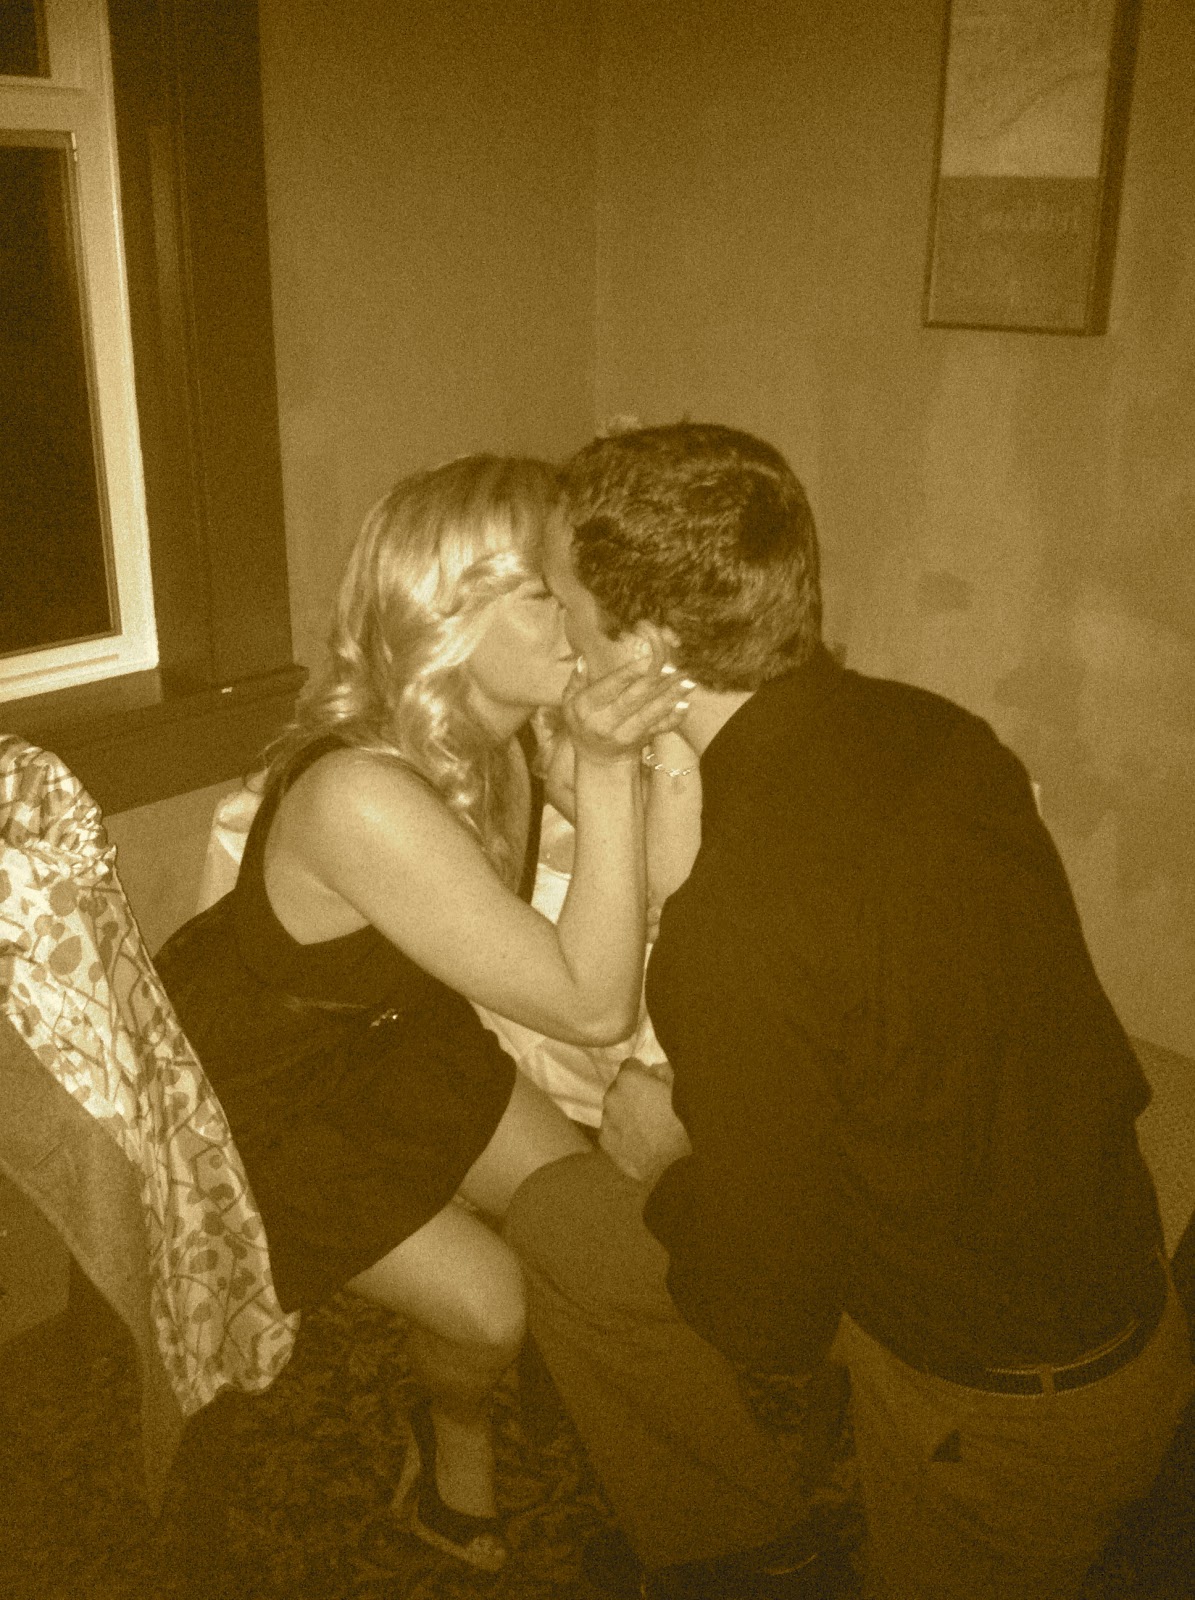
After a glorious weekend of being swept away to Cannon Beach, Oregon by Adam for what I thought was my birthday weekend, I am engaged to the love of my life! Adam and I have a little wedding website set up if you really want to hear about all the details of our engagement, how we met and our wedding planning progress (click on the link) - AdamJoel&CassidyChristina. For now though, here are a few pictures of our wonderful weekend.


(Our 1st night in Cannon Beach- I still was suspecting nothing).


(The view from our hotel- Adam could not have picked a prettier, more relaxing place. What a view!)


(This is pre-engagement....)

(Took me a minute to figure out what was going on when he got down on his knee).

(You can't tell, but I am crying. Adam just made me the happiest girl on the planet).

(I said "yes" or something along those lines. This was the best day of my life so far).


(The morning after we got engaged we strolled the beach holding hands and planning our future).


(Hehehe- Courtesy of the Hjorten's who were puppy sitting).

Welcome to the world baby Cole Petrick!

On Tuesday, November 16, 2011 at 8:47pm sweet, innocent, adorable baby Cole was borne into the world at 7.3lbs and 19 inches with jet black hair- very opposite of his fair skinned, blonde haired, blue eyed big brother! What a blessing he will be to his family. Congratulations to his proud family; Rhiannon, Russ and big brother Jett!! 


(This is big brother, Jett, going bananas waiting for sweet baby Cole to rock his world).

(Jett having his world rocked by baby Cole hehe. What a boo-boo face! He was so sad that mommy was holding someone other than him).

(Proud, beautiful mama Rhiannon with her two boys. She is a baby birthing pro and makes being in labor look like a walk in the park. One push, and about 10 minutes was all it took her to deliver Cole! She didn't even break a sweat)!

(Handsome Uncle Adam holding baby Cole for the 1st time).

(What a little gift he is! He looks so smoochable)!

(Me- future Auntie "Tass-Tass" as Jett says- holding baby Cole for the 1st time and loving him).

(Precious little sleeper).

(Proud daddy, Russ, admiring his little man).

(Healthy Cole stretching his little limbs and taking his first breaths).

(Grandma raced to town to meet and admire her newest grandchild).

(Grandpa Barney and sleepy baby Cole).

Welcome to the world baby Cole! We are so happy you are here! You are such a blessing to your whole family and we can't wait to watch you grow big and strong!

Thursday, November 4, 2010

Things That Make Me Smile

My very sleepy puppy....


Getting to my dad's house just to find him on the roof "just scoping things out."


My crazy fiance' (oh, yeah! Did I mention we got engaged?! More on that very soon!) who likes to scare little kids on Halloween...


Being engaged to the man of my dreams....


New haircuts on the puppers when they pick out his hair and make him look extra chubby...